- The Ultimate Guide to Finding the Best Robot Vacuum for Dog Hair - June 2, 2024
- How to Make Your Home Smart: A Comprehensive Guide - May 28, 2024
- How to Make Your Home a Smart Home: A Comprehensive Guide - May 26, 2024
Canva is my favorite design tool. I actually use it for all my content visualizations. I think it’s my favorite tool because it’s an all-in-one design tool. All the features are there to create the design you would like. So also the feature to print, but how to print from Canva?
In this guide, I explain how to print from Canva. I can imagine that you created a great design that you would like to print. The print products are endless within Canva. You can choose from posters, an infographic, canvases, a T-shirt, and more.
In the past, I designed guest books for Airbnb owners and sold these on Etsy. Buyers received a link to the template I created. They had the opportunity to make adjustments and then print it for their Airbnb rental. However, I printed it myself as well so that I knew what it would look like.
I will show you how I printed the guest book and which customization settings I chose. At the end of this article, I’ll show images of the end result.
Let’s dive into the steps.
How to print from Canva?
- Create and finish your design
- Go to ‘Share’
- Choose your print product
- Customize
- Choose print settings
- Checkout and delivery
1. Create and finish your design
First, you need to create your design in Canva. It’s good to know that you can print any design and size. If your design does not have the right size to print, Canva automatically adjusts your design to a printable size.
Once you finish your design, you’re ready to print. This was what my guest book looked like:
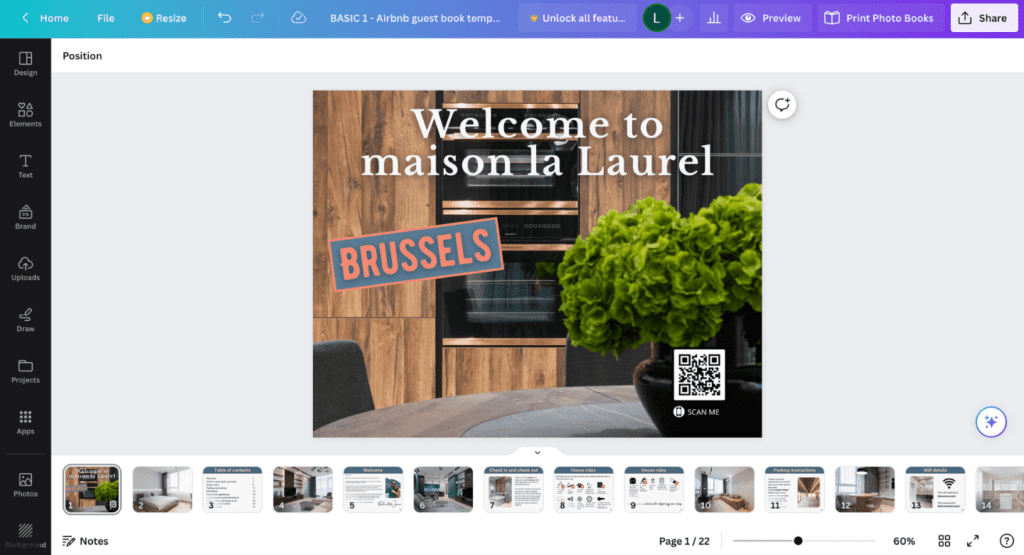

Note: If you want to print a photo book as I wanted to, then you need at least 22 pages in your design.
2. Go to ‘Share’
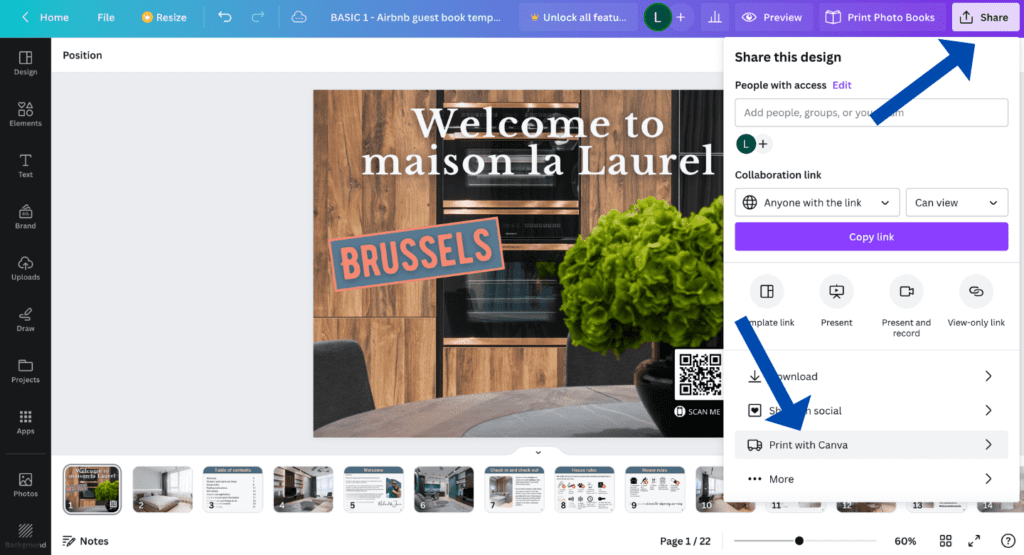
Next, click on the ‘Share’ button in the top right corner. Then, click on ‘Print with Canva’.

3. Choose your print product
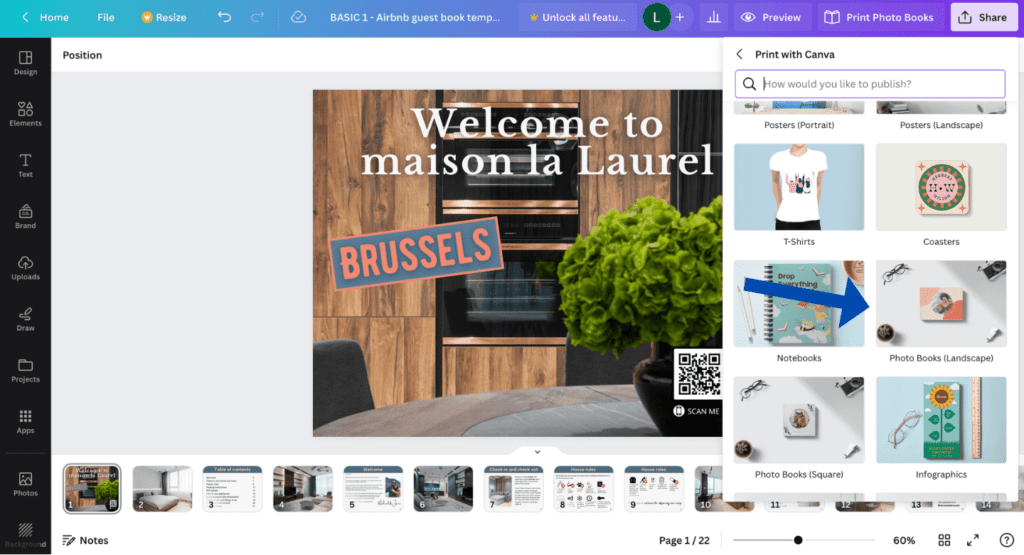
Now you can choose your print product. In my case, I selected ‘Photo Books (Landscape’. From my view, a lot of options exist to print your design on Notebooks, Business Cards, or Flyers.
Choose the product you’re looking for.

4. Customize
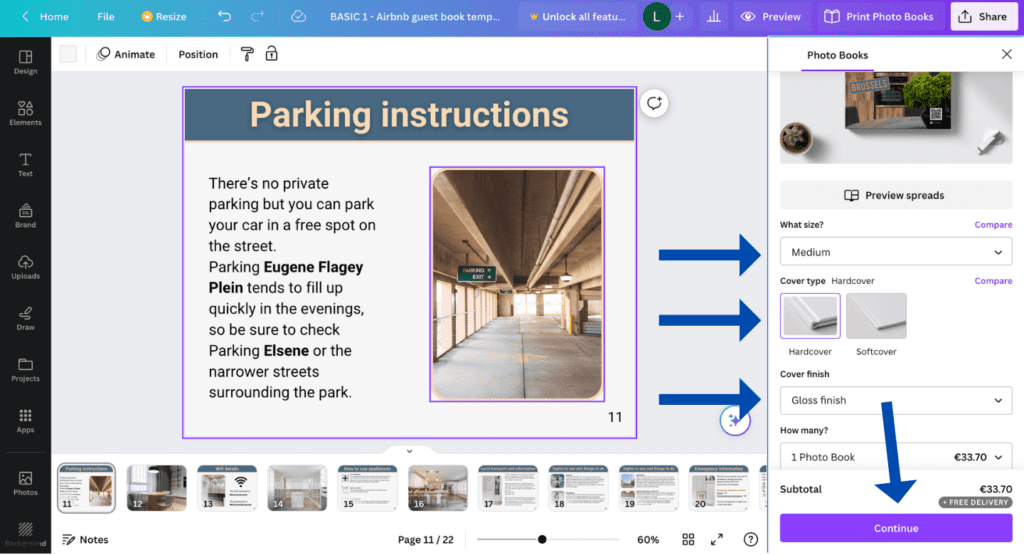
In this step, you can choose how you would like to print your design. If you choose the photo book, you can select the size (small or medium), cover type (hardcover or softcover), and cover finish (gloss finish or soft touch finish). Finally, select how many prints you would like.
You also see at the top ‘Preview spreads’. If you click on this, you see how the pages will be printed in your photo book.
If you choose another print product, for example, a poster, then the customization options could be a bit different. In the end, the options are pretty similar.
For my guest book, I chose the options medium, hardcover, and gloss finish.
Click on ‘Continue’.

5. Choose print settings
Canva lets you know if there are some printing issues in your design. At the top, you can select ‘Automatically fix all issues’. Canva ensures that everything is printed properly.
Printing issues could arise if your font is too small or with printing the edges. You can review this yourself page by page or make use of the automatic fix issue. I chose the last option in this case.
At the bottom, you can do a final check and download your design as a PDF file. In this way, you can check the pages one by one before you order.
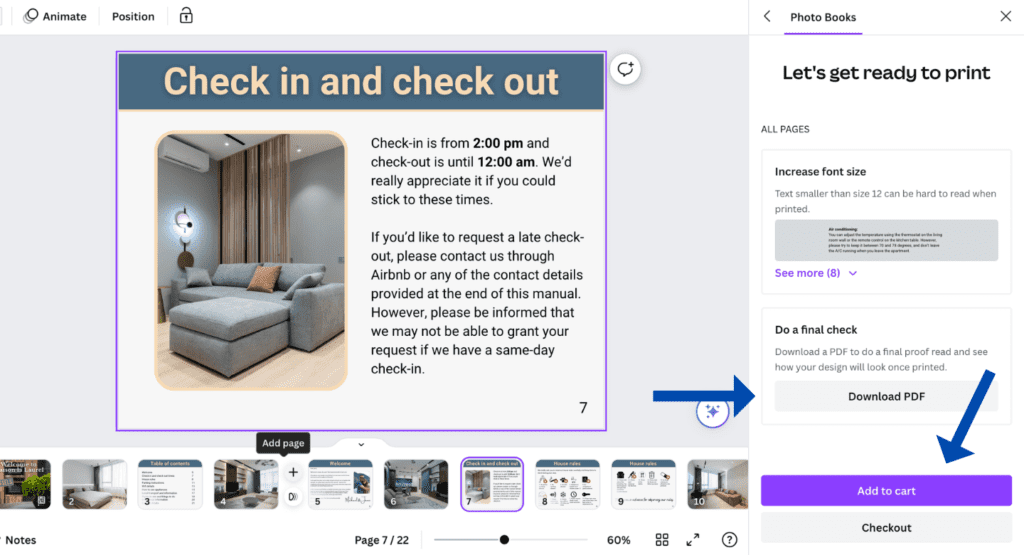

Once you’re done changing your print settings, click ‘Add to card’.
6. Checkout and delivery
In this window, you can add or reduce the amount of prints.
Then, click ‘Checkout’.
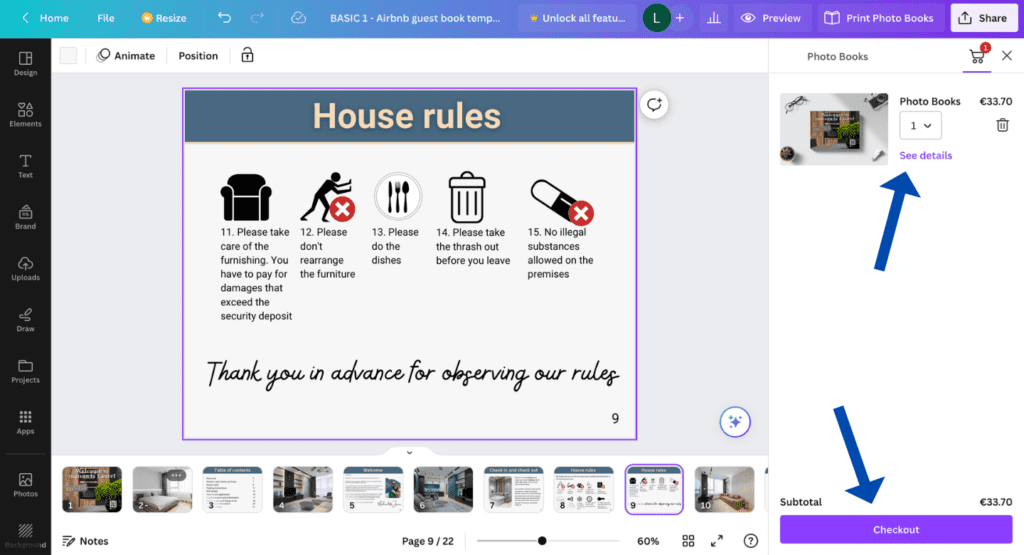

Choose your delivery option, fill in your details, and make the payment.
Click ‘Place order’ and you’re done!
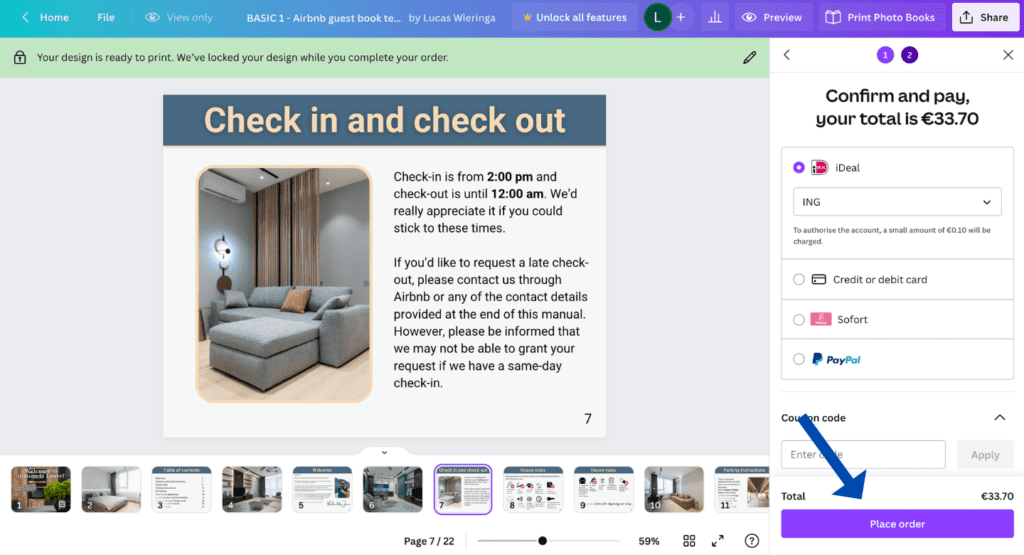

The end result of how to print from Canva
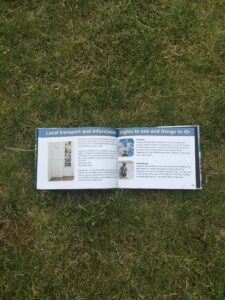
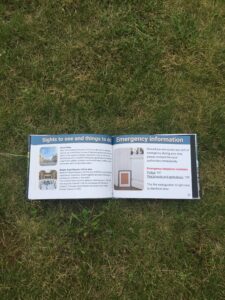
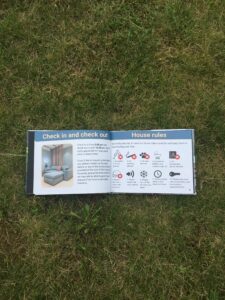
After a week, I received my guest book. Here are the pictures I made:







I have written multiple tutorials about Canva. If you’re interested, you can find them here.
I hope this guide helped you and you now know how to print from Canva. Good luck with your designs and printing! If you have any questions, please feel free to contact me.
